The pizza ovens line
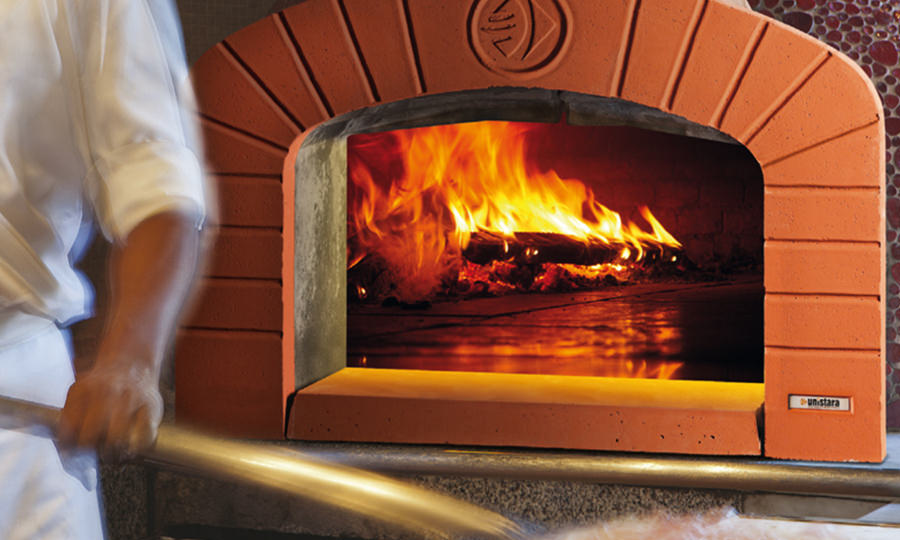
Tuscany, a land rich in art and culture. Known all over the world for its enchanted landscapes and cities suspended in time, but also for its fine wines and good, tasty and traditional cuisine. All this is the result of ancient craftsmanship that has remained unchanged over the centuries and has always managed to be original and surprising in these places.
From this tradition, in the heart of Tuscany, the Unistara wood-fired pizza ovens are created, handmade, one by one. The ovens line includes 10 models of wood-fired ovens designed to enjoy pizzas, focaccia and farinata (a kind chickpea pancake), but also to rediscover the pleasure of traditional Italian cuisine with wood-fired ovens. The new manual working process and the choice of refractory mixture enhance the craftsman like irregularity of the shapes and improve the compactness of the vault, preventing the formation of air bubbles.
The authentic and genuine flavours of the past are only possible thanks to the passion for craftsmanship.

Our lines of wood-fired pizza ovens

Home Line
The ideal solution for those who want to enjoy pizza with family or friends, in the garden or on the terrace.

Semi-Pro Line
For lovers of wood-fired cooking, always looking for new recipes with which to enrich their daily cuisine.

Pro Line
Professional ovens for small and large pizzerias. Robust and long lasting, they guarantee extreme performance and work rhythms.
Insulation kit
For perfect installation of the ovens and correct operation, it is necessary to create adequate insulation to avoid dangerous heat loss and at the same time to maintain the temperature of the oven for a long and stable period of time.
The insulation kit includes the insulation blocks on which to lay the oven floor, the mortar to seal the vault joints, the low bio persistence fibre insulation mat and the granulated vermiculite for insulation.

Insulating blocks

Insulating mat

Granulated vermiculite in bags

Refraset refractory mortar

Unibond A25 refractory mortar
Forni Ø 80
Insulating blocks
12 cm
Insulating mat
1 cm
Granulated vermiculite in bags
6 cm
Refraset refractory mortar
10 Kg
Unibond A25 refractory mortar
–
Forni Ø 100
Insulating blocks
14 cm
Insulating mat
1 cm
Granulated vermiculite in bags
8 cm
Refraset refractory mortar
10 Kg
Unibond A25 refractory mortar
–
Forni Ø 110
Insulating blocks
14 cm
Insulating mat
1 cm
Granulated vermiculite in bags
8 cm
Refraset refractory mortar
10 Kg
Unibond A25 refractory mortar
–
Forni 110×140
Insulating blocks
18 cm
Insulating mat
2 cm
Granulated vermiculite in bags
10 cm
Refraset refractory mortar
20 Kg
Unibond A25 refractory mortar
–
Forni Ø 140
Insulating blocks
24 cm
Insulating mat
3 cm
Granulated vermiculite in bags
13 cm
Refraset refractory mortar
–
Unibond A25 refractory mortar
50 Kg
Forni 140×170
Insulating blocks
32cm
Insulating mat
3 cm
Granulated vermiculite in bags
16 cm
Refraset refractory mortar
–
Unibond A25 refractory mortar
50 Kg
Accessories
All wood-fired pizza ovens are complete with sheet metal door and pyrometer. The new palletizing system not only simplifies storage but also increases protection against accidental impacts during handling.
The Professional Line ovens are sold complete with front arch and flue gas connection. The Home Line and Semi Pro Line ovens are sold without front arch and flue gas connection (sold separately). The set of pizza peels, the pyrometer and the individual elements that make up the oven floor or vault can also be purchased separately.

Flue gas connection

Arch

Peels

Pyrometer
Easy assembly

The assembly of the Unistara ovens is very simple.
It consists of the correct positioning and assembly, mainly dry, of the elements that make up the floor, the vault, the insulation and the flue gas connection.
Nevertheless, we always recommend that it is only carried out by experienced personnel and strictly following the installation instructions.
Main stages of the installation
1 On the masonry prepared for the assembly of the oven, build a dry brick kerb and place the insulating blocks contained in the insulation kit in the middle (Fig.1)
2 Always dry, arrange the elements of the cooking surface in the middle and assemble the vault (Fig.2)
3 With the mortar supplied in the kit, only seal all the joints between the elements that make up the vault externally and cement the flue gas connection and the arch to the oven (Fig.3)
4 Cover the entire vault of the oven with the insulating mat and connect the chimney flue to the flue gas connection (Fig.4)
5 Make the closing walls of the oven by providing, where necessary, lateral ventilation grids and fill the empty spaces between the oven and external walls with the granulated vermiculite supplied before installing the protective roof (Fig.5)

Fig.1
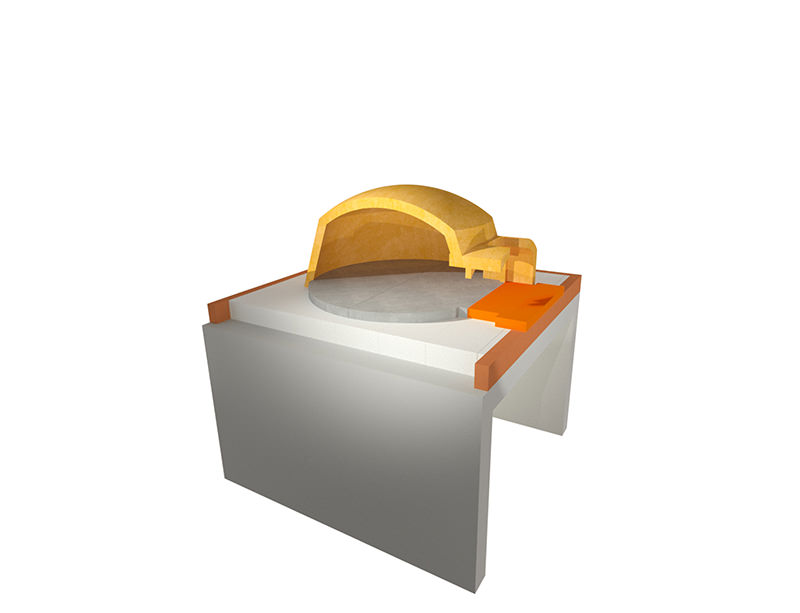
Fig.2

Fig.3

Fig.4

Fig.5

ABOUT UNISTARA
HIGH QUALITY REFRACTORIES